


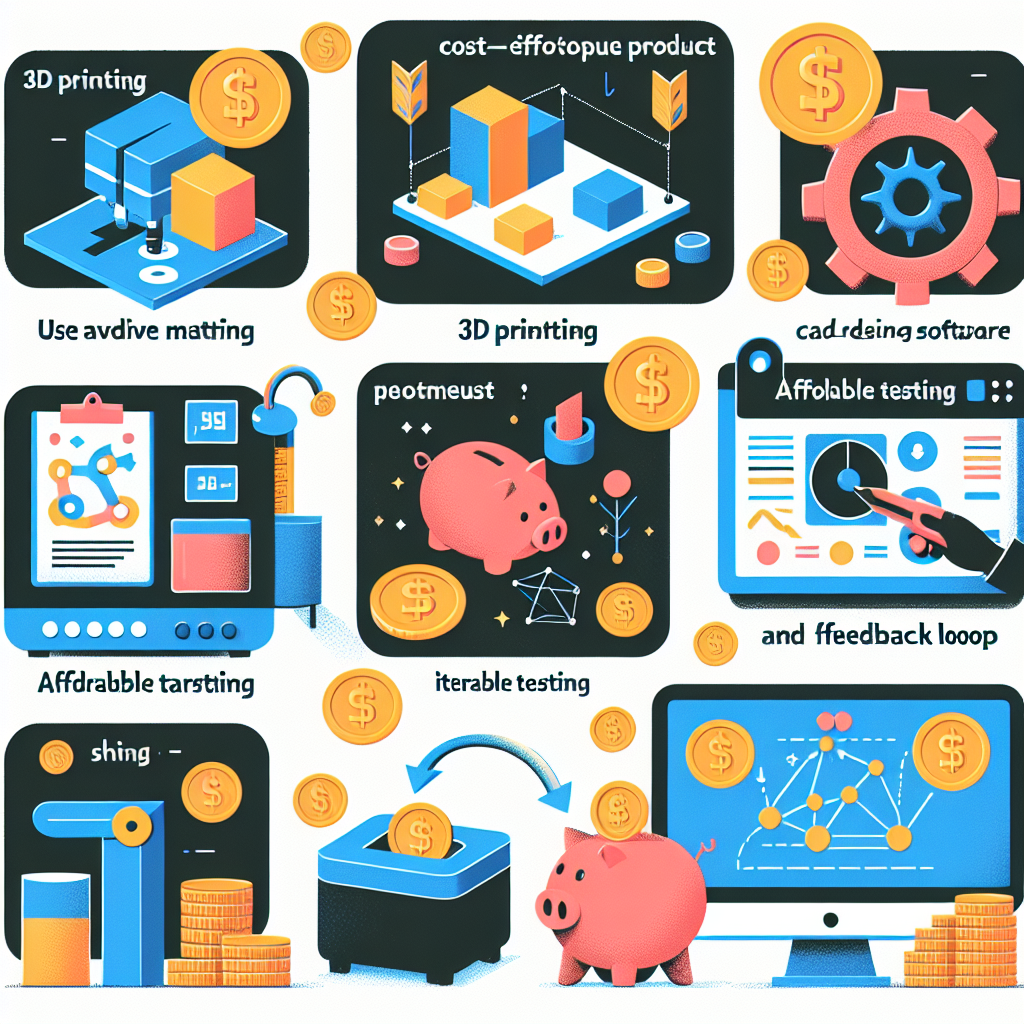


What Are the Most Cost-Effective Ways to Prototype a Product?
- Affordable Prototyping Methods
- Utilizing Digital Prototyping Tools
- Engaging with User Feedback
- Iterative Design Process
Affordable Prototyping Methods
Exploring Low-Cost Techniques
In my early days of product design, I had to get really creative with my prototyping methods. I quickly realized that not every prototype needs to be made from high-end materials. Often, simple materials like cardboard or foam can do wonders. For instance, I remember using cardboard boxes to create a basic shape of a device. It allowed me to visualize and test the form factor without breaking the bank.
Once I had the basic shape down, I could then iterate on that initial concept. Often, I found myself using household items too. Old bottles, containers, and even tape could come together to create something that resembled my vision. It was both budget-friendly and satisfying to see an idea take form from what I had at hand.
Remember, the goal of a prototype is to represent your concept and gather insights, not to look perfect. So don’t sweat it if your first attempt looks a bit rough around the edges!
Utilizing 3D Printing
3D printing has become a game-changer for many of us in the prototyping space. I can’t stress enough how much this technology has evolved. It’s accessible, relatively low-cost, and can produce highly functional prototypes. My first strategy was to find a local makerspace. These places usually have all the tools and printers you need, and many times, they offer memberships or pay-per-use plans.
When I finally got the hang of using a 3D printer, it opened up a floodgate of possibilities. I could quickly create iterations and make modifications based on user feedback. Plus, the materials used in 3D printing can vary in price, so I was able to pick something that fit my budget. Don’t be afraid to experiment with different materials; some are cheaper than others.
Just a heads up: while 3D printing can be affordable, it can also get pricey if you’re not careful. Make sure to keep an eye on how many prototypes you’re printing. Keeping it lean and efficient is key!
Collaborating with Others
Never underestimate the power of collaboration in prototyping. During one of my projects, I partnered with a local design school. They were eager to take on real-world projects, and in return, I received innovative prototypes crafted by enthusiastic students. This arrangement not only saved me money but also brought fresh ideas to the table.
If you have access to local universities or startup incubators, leverage those connections. Many students or professionals are looking for hands-on experience, and they may exchange their skills for invaluable feedback or mentorship.
Teaming up with others can also help diffuse the costs of materials and resources. It’s surprising how much more you can achieve when you combine resources and ideas!
Utilizing Digital Prototyping Tools
Taking Advantage of Software Solutions
Digital prototyping tools really made my life easier when I started learning to design products. Software like Sketch, Figma, and Adobe XD allow you to create detailed and interactive prototypes without spending a ton of cash on physical materials.
The cool part? You can iterate quickly. I can whip up a design in no time, gather some feedback, and make changes right away. Plus, many of these tools come with free trials or are subscription-based at a low cost, making it easy for anyone to get started.
I remember being skeptical about how impactful a digital prototype could be, but after presenting my mockups to colleagues, I quickly realized they were just as effective as traditional prototypes when it came to conveying ideas.
Sharing Your Digital Prototypes
Once I created my digital prototypes, sharing them was a breeze. Tools like InVision or even simple PDF files allow easy dissemination. I learned early on that getting feedback is crucial. After every presentation, I’d gather insights, refine my design, and share the updated prototype again. This back-and-forth process saved me countless hours in the long run.
Inviting stakeholders and potential users into the feedback loop not only helps refine the product but also creates a sense of ownership in your audience. Plus, hearing varying perspectives can help you identify potential pitfalls you might not have considered.
Getting good feedback from real users made the difference in enhancing my design and boosting my confidence in moving forward.
Explore Free Online Resources
There are a ton of free resources and templates online that can jumpstart your digital prototyping journey. Websites like Canva and free tutorials on YouTube opened up a whole new world for me.
I found countless guides on the best file types for sharing, how to use specific software features, and even tips on digital design principles. Diving into these resources not only improved my skills but saved me a bucket of cash on courses.
When you’re learning something new, it’s all about utilizing the right tools at your disposal. There’s no shortage of information available, and tapping into those resources will definitely help you save both time and money.
Engaging with User Feedback
Creating a Feedback Loop
Collecting feedback is one of the most vital parts of prototyping. I learned to set clear expectations with my testers. When I first began, I was surprised by how valuable honest, sometimes tough feedback could be.
Creating a structured feedback loop where users can share their thoughts on usability, design, and overall concept helps refine the product immensely. After all, the end-users are the ones who will be using the product, so I took their input seriously.
I remember drafting short surveys after each prototype testing session to gauge user reactions. This not only made them feel involved but helped me pinpoint the main areas that needed improvement.
Iterating Based on Feedback
After gathering feedback, I found the most significant challenge is knowing which advice to follow. I developed a prioritization system that categorized input based on feasibility and importance. This approach allowed me to focus on the most impactful changes first.
Taking feedback as constructive, rather than personal, is essential. Sometimes, it can feel overwhelming, but when you think about it from a problem-solving perspective, it’s about enhancing the user’s overall experience.
Once I made the necessary adjustments, I’d re-test with the same group of users, creating an iterative cycle that was both resource-efficient and effective. This approach has always resulted in a stronger end product.
Utilizing Social Media for Feedback
With the digital age in full swing, why not leverage social media to gather feedback? I started sharing my prototypes and ideas on platforms like Instagram and LinkedIn. It was a great way to not only get real-time reactions but also creative suggestions I hadn’t even thought of.
Engaging with an audience online can be surprisingly fruitful. Whether through polls, comments, or direct messages, I’ve been able to draw insights from a broader scope of people.
This process opened me up to imaginative perspectives and suggestions—many coming from people outside my usual circles. Sometimes a fresh set of eyes can inspire a total redesign!
Iterative Design Process
Building a Prototyping Culture
One of the most significant lessons I learned was fostering an iterative design mindset from the very start. When diving into a project, I always keep in mind that the first prototype is just that—a start.
Encouraging a culture of trial and error allows room for innovation and creativity. I actively tried to change my mindset from ‘I need this to be perfect’ to ‘Let’s get this out there, and improve it together.’
This shift in perspective helped not only me but also my team embrace experimentation. It became exciting to see how an idea transformed through iterations, focusing less on perfection and more on continuous improvement.
Documenting Each Iteration
Keeping a detailed record of my prototyping process has been a real game changer. I started maintaining a design log that captured every iteration, decisions made, and feedback received.
This documentation not only helps in reminding me why certain choices were made but also serves as valuable insight for future projects. Looking back, I can see what worked and what didn’t, improving my skills over time.
By recording my prototype journey, I developed a tangible timeline of growth, which is motivating as I look ahead to new projects.
Embracing Change
Lastly, embracing change is crucial in this fast-paced world. Markets evolve, user preferences shift, and technology advances. Staying flexible meant being ready to pivot when necessary, which has frequently saved me time and resources.
I became adept at reading the landscape and identifying when a change was warranted, rather than sticking stubbornly to a previous idea. Each pivot led us closer to crafting a product that truly resonates with users—and that’s the ultimate goal, isn’t it?
FAQs
What is the best method for prototyping if I have a limited budget?
The best budget-friendly method often involves using traditional materials like cardboard or even household items. These can help you create a physical representation of your idea without the high costs of manufacturing.
How important is user feedback in the prototyping process?
Extremely important! User feedback gives you insights and perspectives that you might not have considered. Engaging with real users can drastically enhance your design and ensure it meets their needs.
Which digital prototyping tools do you recommend?
I recommend trying out tools like Sketch, Figma, and Adobe XD. They’re user-friendly, offer trial periods, and are great for creating interactive prototypes that represent your ideas beautifully.
What is the iterative design process?
The iterative design process is all about refining your prototype through cycles of testing, feedback, and improvement. It helps you adapt to needs and changes, ultimately leading to a more successful final product.
Get it now, your new content producer, that makes your journey so much easier.
This is a wonderfull resource it makes all the difference to your product creation and sales, even giving you a market place to list and sell your product.